

Creating Personalized SVG cut files of your Face
Earlier this week I got the idea that I should have my face turned into an SVG cut file so that I could work my own face onto cut characters for my scrapbooks. I knew that I was not talented enough with graphic design work to do this myself, so I hired two different artists to create the SVG files for me in two different styles – a cartoon version, and a more realistic version. I thought that you might be interested in seeing how easy and inexpensive it was to do this and that you can do it yourself.
Step 1 – Create an Account with Fiverr.com
Fiverr.com is a company where talented artists post the type of projects that they are talented at creating, and you can hire them directly. The artists often are based in other countries, which means that the prices are often very inexpensive. If is Free to join, and if you follow this FIVERR.COM LINK to sign up you will get a 10% discount off of your first order, making this project event cheaper.
Step 2 – Select a high-quality photograph of yourself, a family member, or a friend.
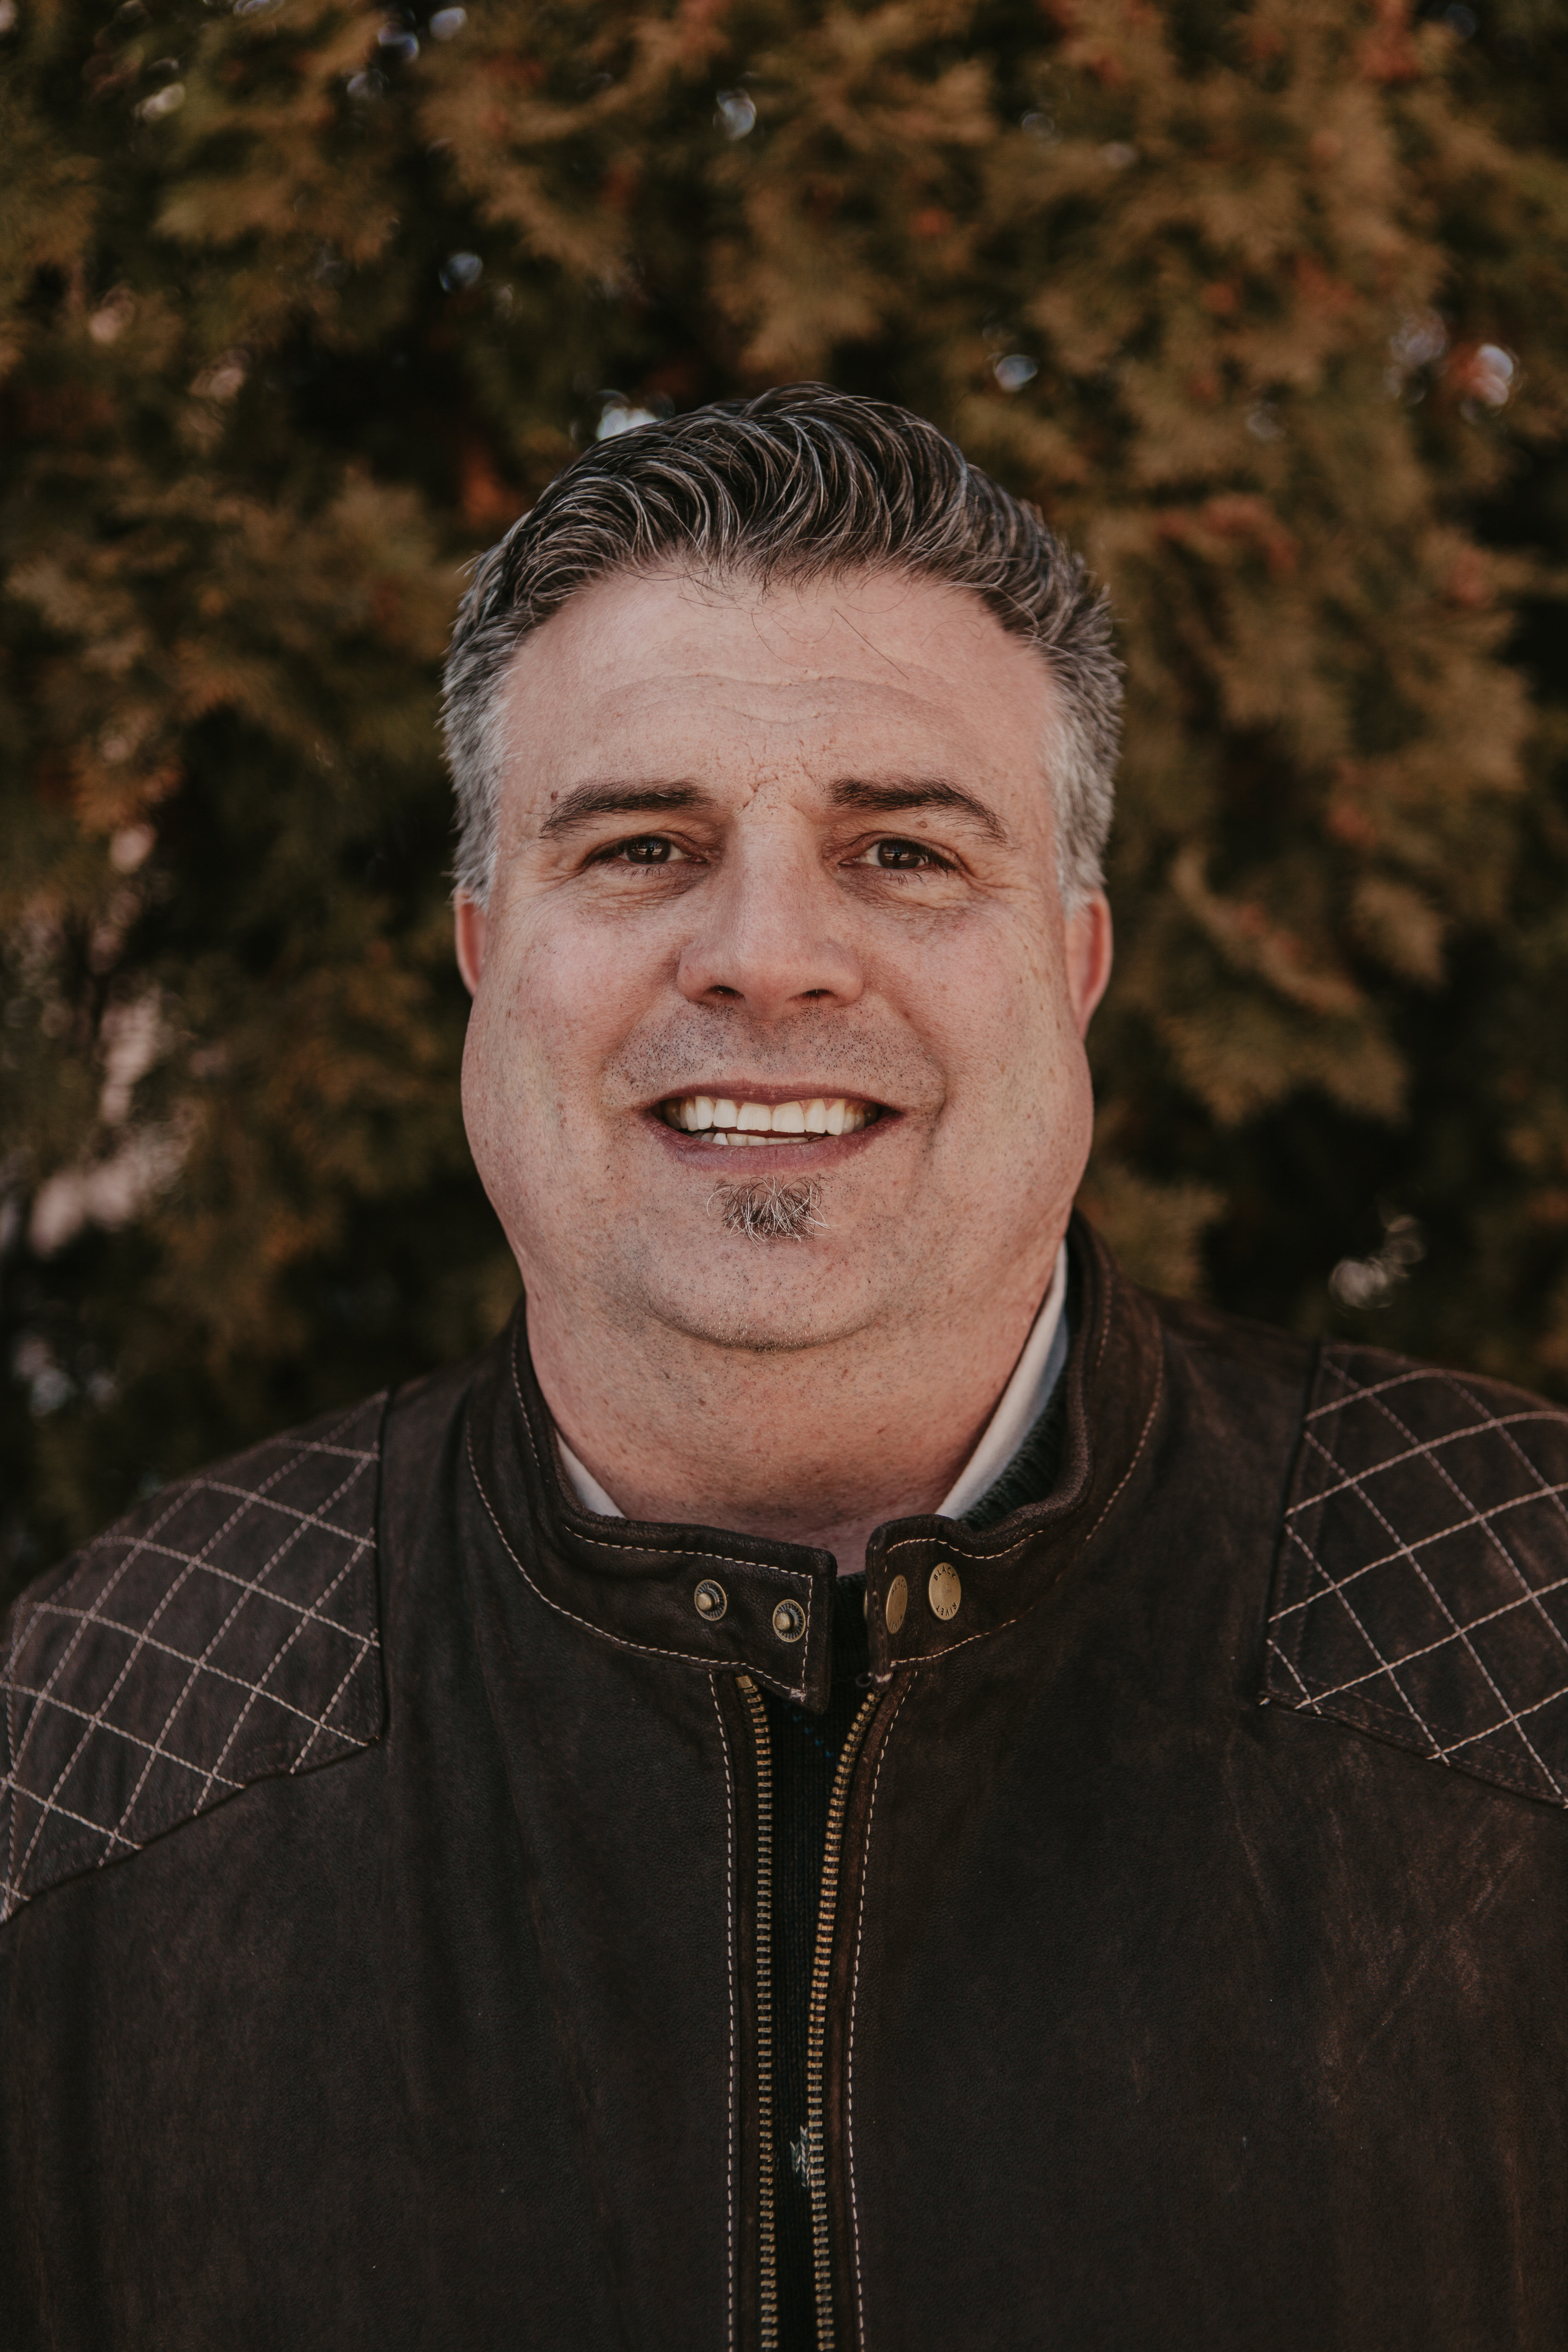
It is important to have a high-quality close-up photograph that you can send to the Fiverr artist in order for them to make the best possible end product for you. On the right is the photo that I used for this project. You can click on it to zoom in if you wish. You can see that it is high quality and has good contrast between my face, my clothes and the background. You must also send in a photo of your face in the angle that you wish to have the cut file created.
Step 3 – Select an Artist.
You can search for “SVG Cut File” and select from the various artist, or you can select one of the artists that I used for this project below:

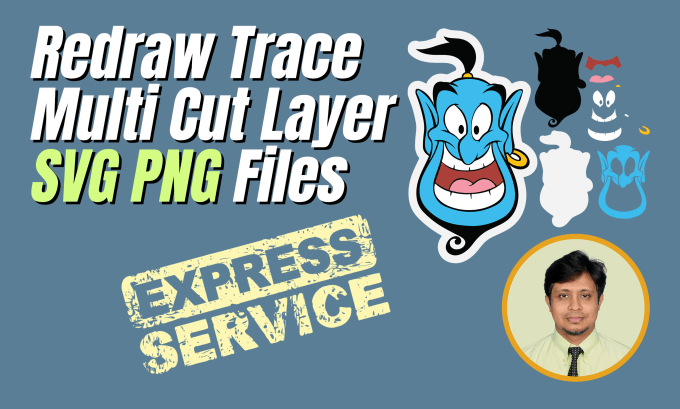
Created by Creativeart133 for $5. You can find this gig at https://www.fiverr.com/creativeart133/draw-your-photo-into-cartoon Don’t forget to sign up at link at the top of this blog to get a 10% discount first. Share with the artist that “Brandon” shared this with you and they will know to create a multilayered SVG Cricut Cut file. There is a 2 day turn around for this service.
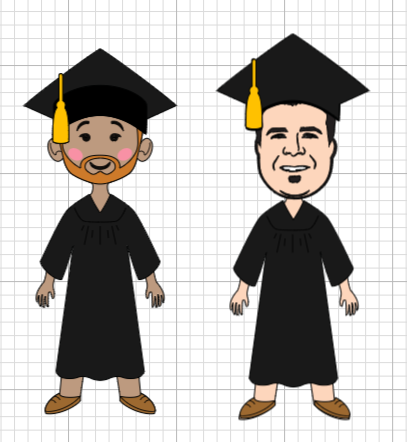
The cartoon graphic is better for smaller projects as the cuts are simple and can be scaled down quite easily. You can see some examples of this below.

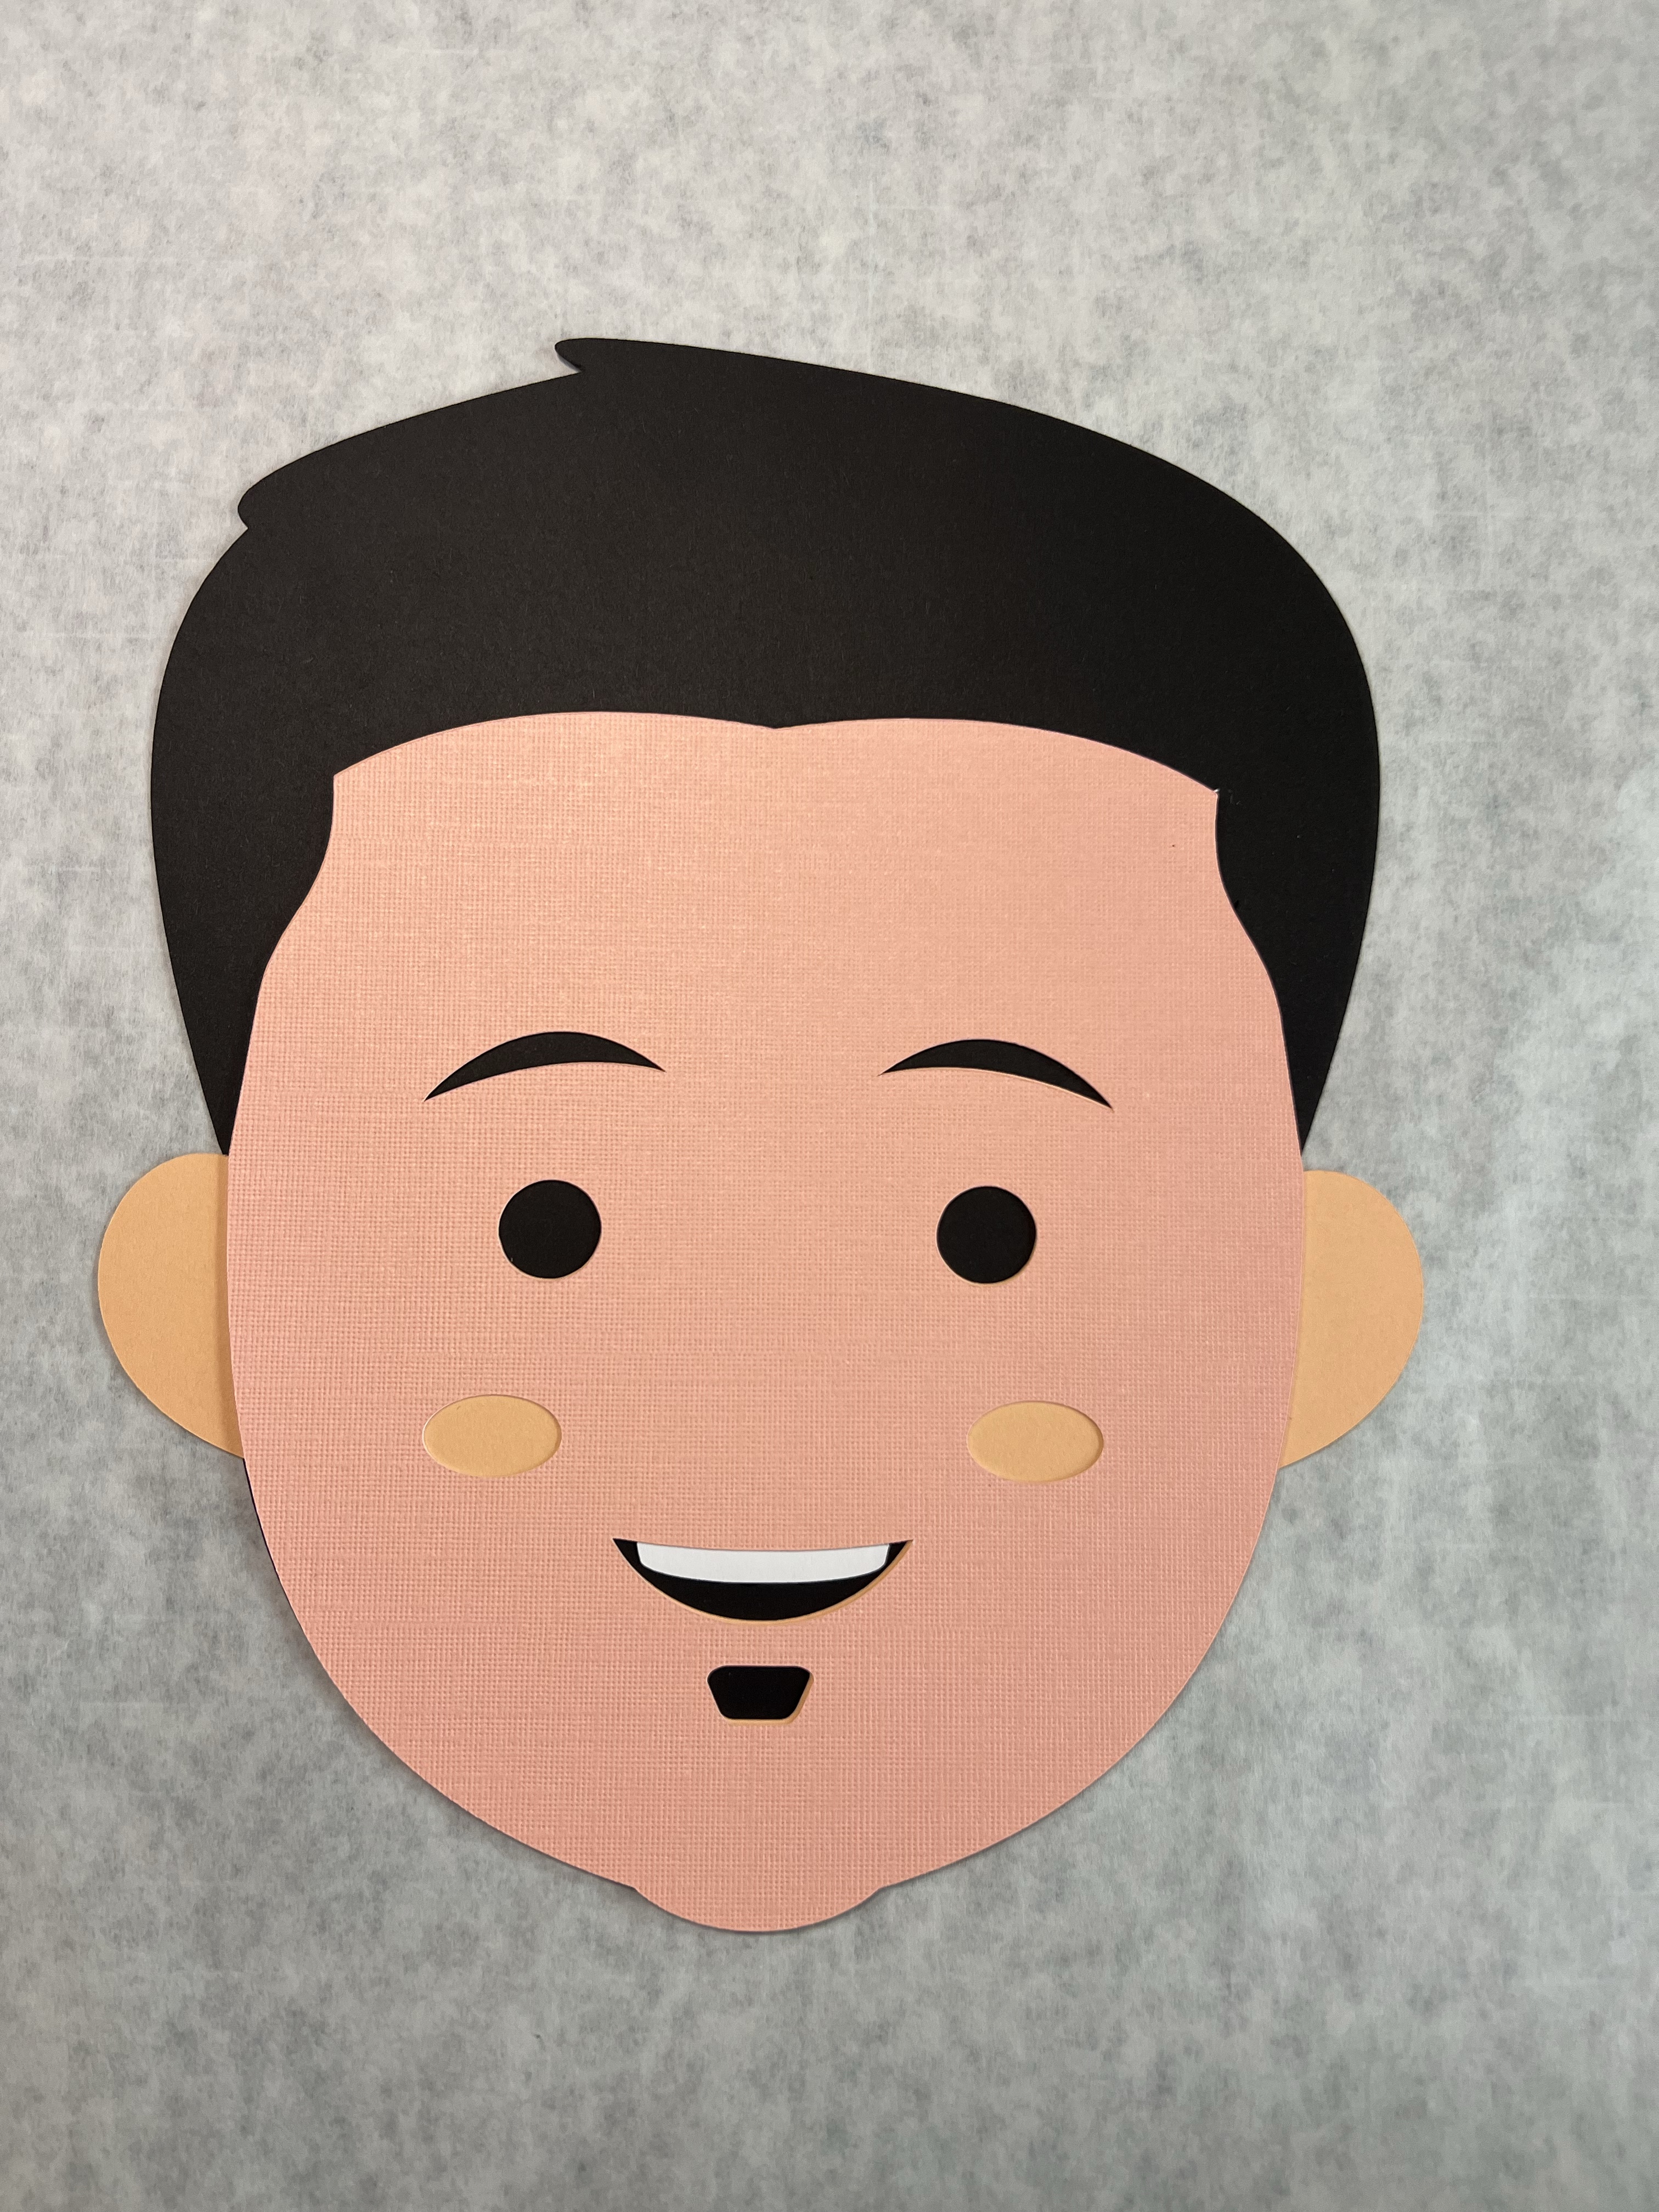
Created by Saalif-art for me for $25 (Includes license for commercial use). He also has a version for $15 that does not include the license which would be perfectly acceptable for most scrapbookers. You can find this gig at https://www.fiverr.com/saalif_art/draw-cartoon-caricature-or-cartoon-portrait-of-you. Don’t forget to sign up at link at the top of this blog to get a 10% discount first. This project took two days to deliver.
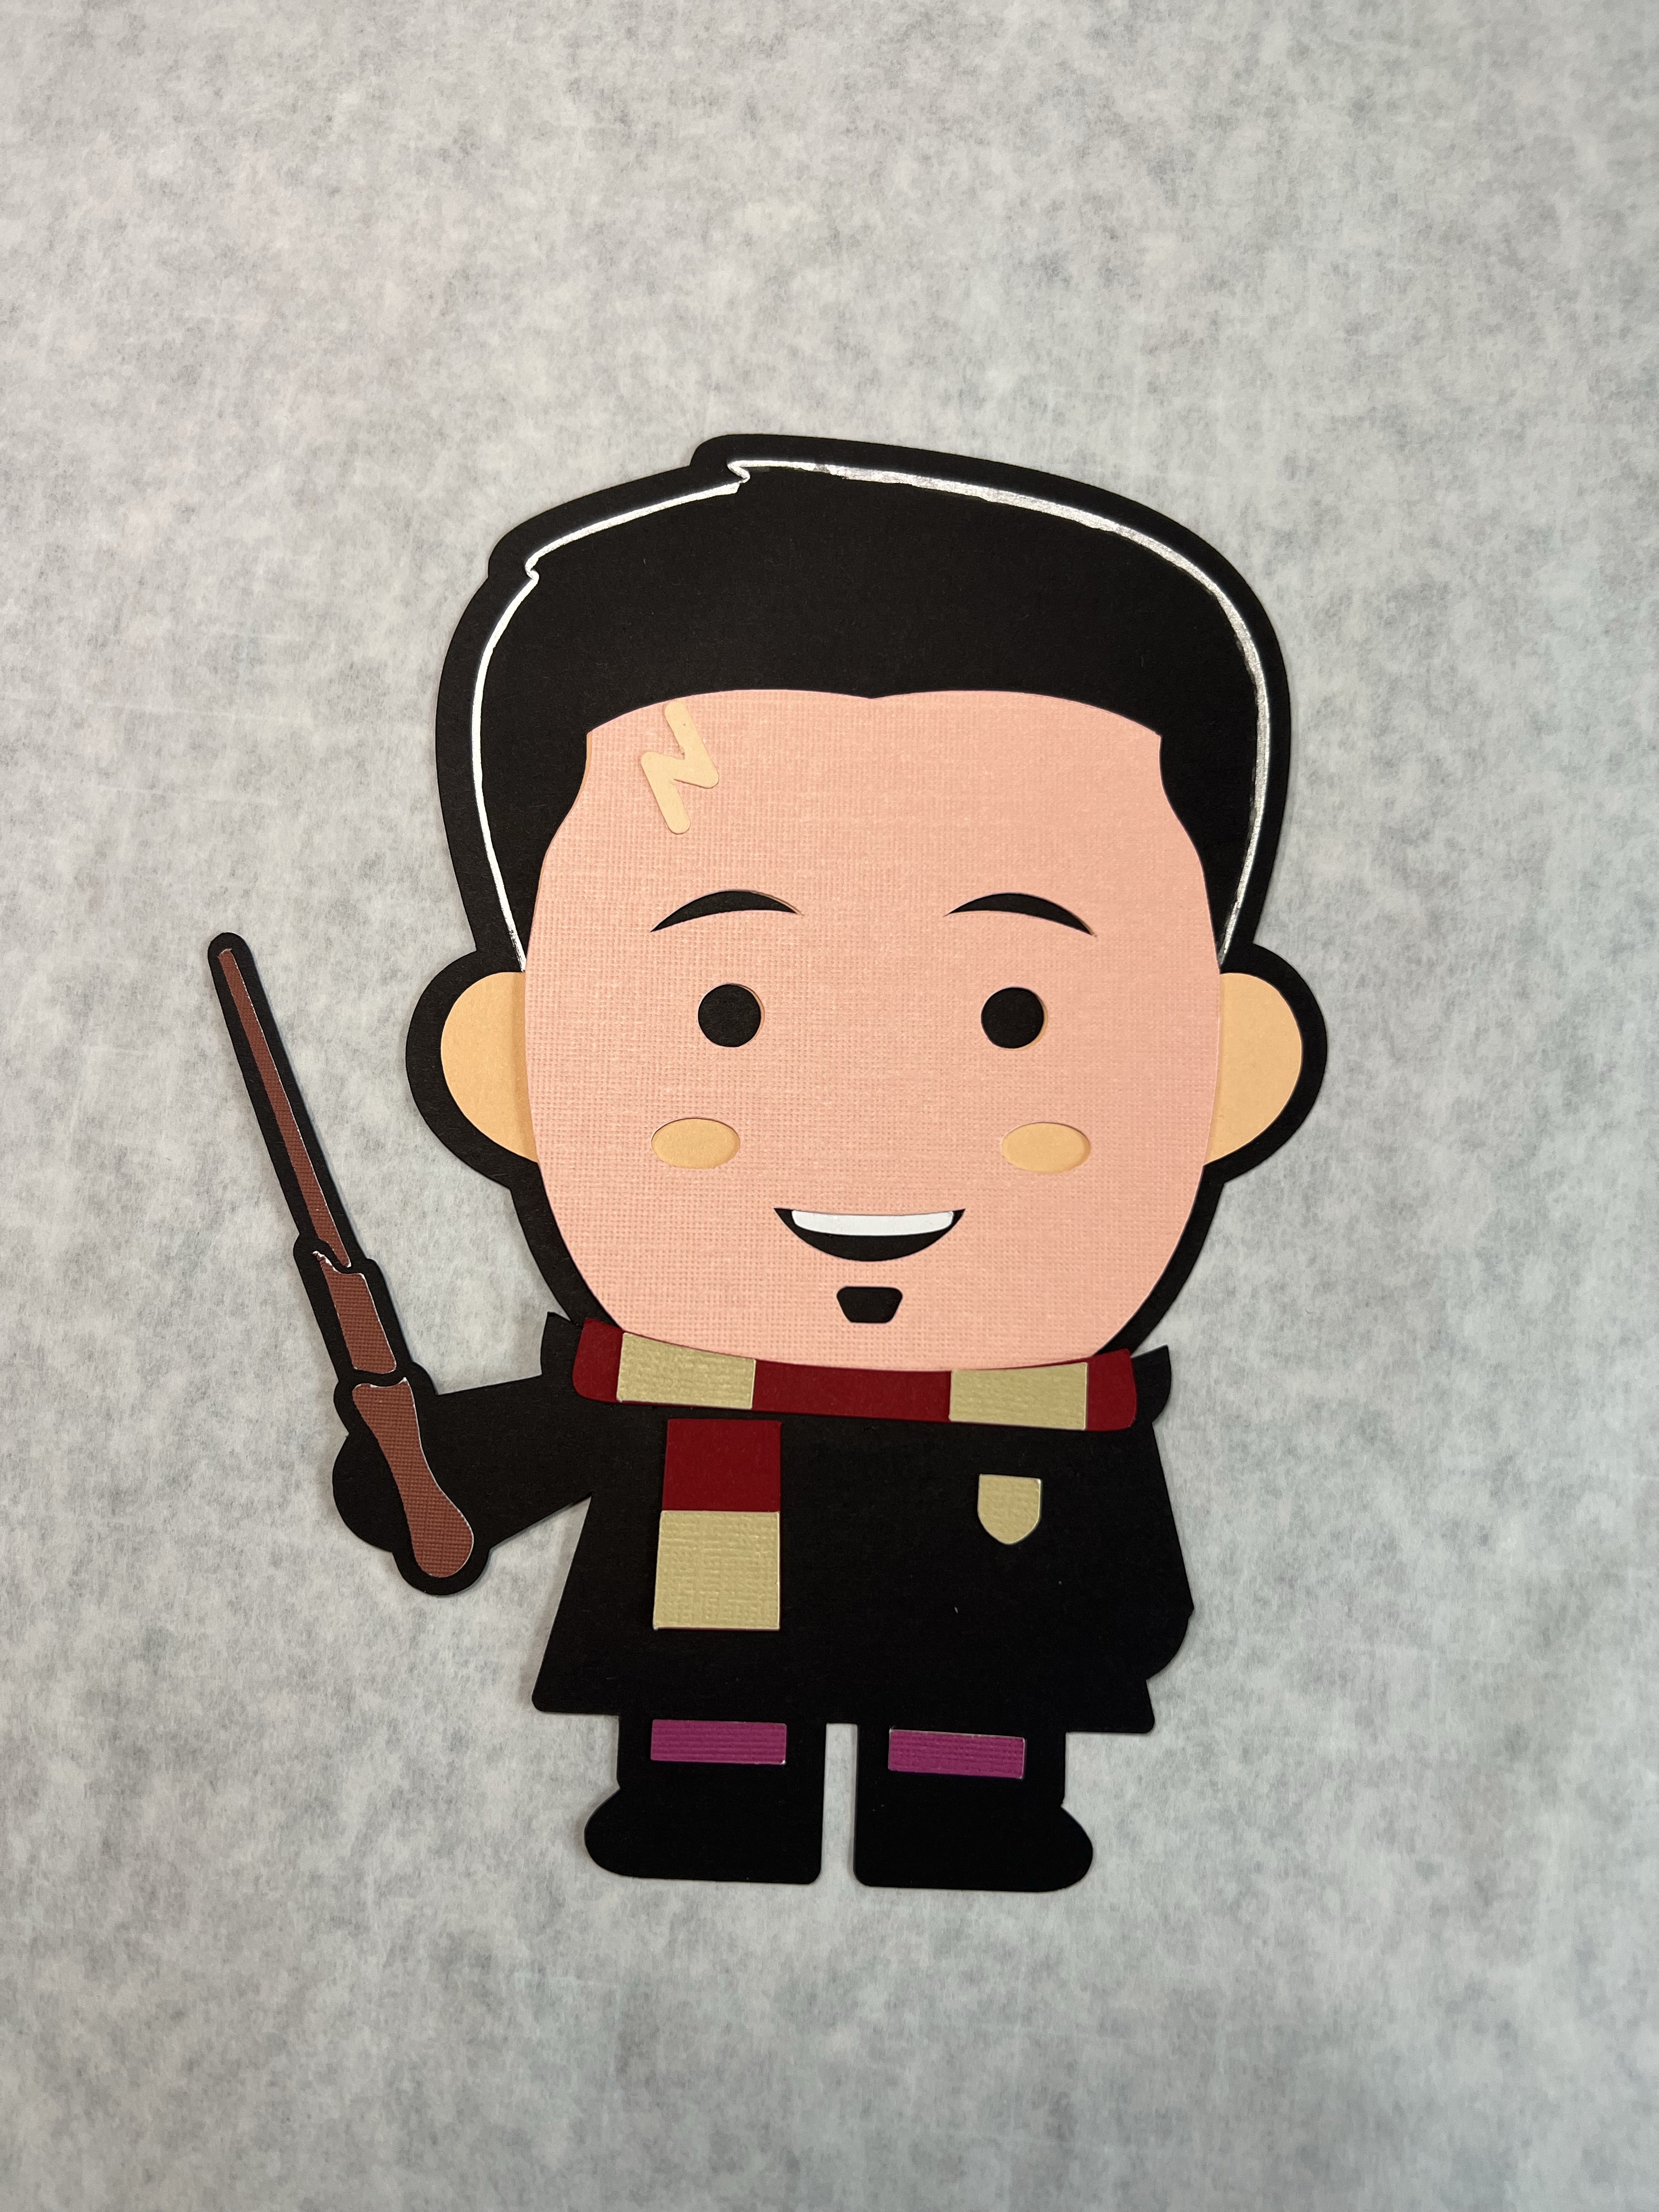
This version is more realistic and is best used for larger cut projects because of all of the detailed cuts. The examples below are fairly large with the head being at least 3 inches tall.
Another artist that I have worked with is Rajuhomepc who can be found at https://www.fiverr.com/rajuhomepc/do-vinyl-cutting-svg-multi-layer-cut-ready-file. Don’t forget to sign up at link at the top of this blog to get a 10% discount first. A two-layer SVG cut file is $10 and a 4-layer is $15. Message him to share what you want to do, and he will work with you. These projects usually can be created within 48 hours.
Step 4 – Confirm that your file has been created correctly.
Do not be afraid to ask for revisions until the project is correct. I had to get revisions from both artists to make sure that the files layered correctly, and it was done quickly. After confirming that everything is correct, you must “Accept” the project to receive the final non-watermarked version. Don’t forget to give a 5-star review to the artist if you are satisfied, and there will be an option to tip the artist later if they did a great job for you. I usually do this after I have made sure that everything is working correctly.
Step 5 – Upload your file into Cricut Design Space
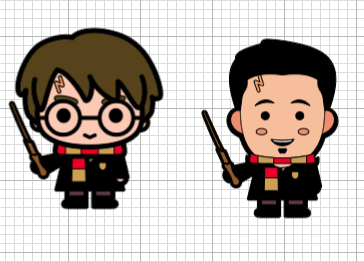
If the artist has done everything correctly the file should upload into Cricut Design Space without any need for editing. You can then use Cricut Design Space to combine your new SVG cut file face with other graphic files as can be seen in the examples below:


Step 6 – Use your Cricut machine to make your cuts
This is my favorite part, using my Cricut Machine to make the cuts, putting them together and inserting them onto my scrapbook pages.
Step 7 – Sharing your new personalized SVG face with your friends.
I would love to see how your personalized SVG face turned out. Join our Scrapping for All Facebook Group and share your creations with us.

Categories: Articles
