
50th Anniversary: Professional Family Photos and Congratulations Letters and Cards
This blog shares the 50th Wedding Anniversary album that I gave to my parents as part of their present. This will be a fairly long blog as I am going to put all of the pictures from this album in it. It contains the photos from our family professional photo shoot, as well as the newspaper article about their anniversary and the letters and cards that they received for this special occasion.
The thumbnails are pretty small so that they all fit on the page nicely – but if you click on them you will be able to see them larger and in more detail.
 I chose a vintage Victorian theme for this album to match the period family photographs that we had taken while we were on the 50th Wedding Anniversary Family trip to Gatlinburg, TN. The first photo is of the album cover, so that you can see how the entire album, including the choice of the album cover all fits together into this theme.
 The picture to the right is the Title Page for the album. You can see that we are all dressed in old time Victorian costumes. We had our family pictures taken at Wild Gals Old Time Gallery and they were amazing! The entire album follows this same theme – you will see Victorian flowers, birds, and butterflies throughout the album, as well as antiqued and vintage background papers. For this Title page I also used metal photo frame corners which have to be molded around the photos with quite a bit of pressure.
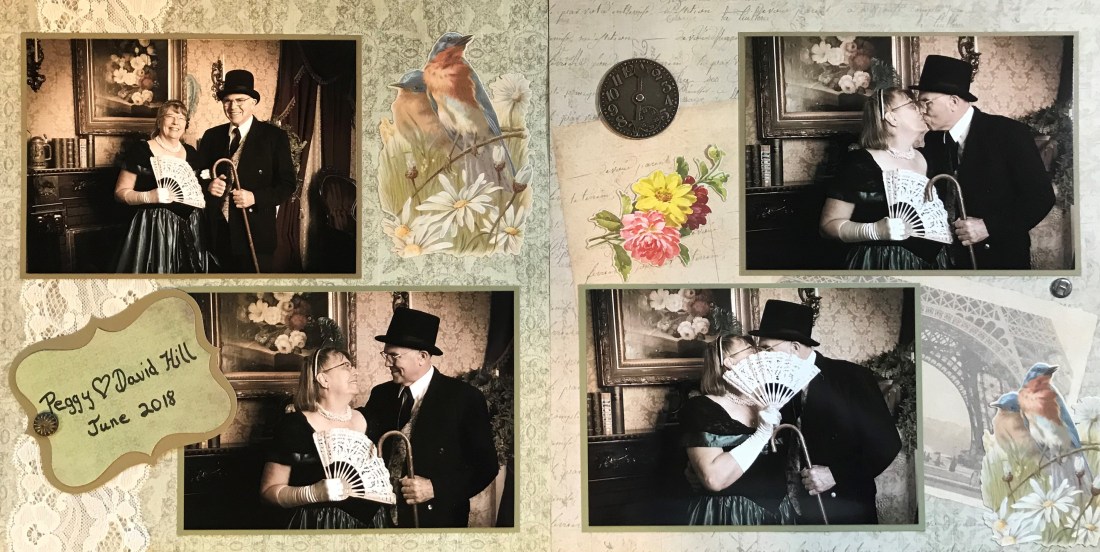
 The photo to the left is the opening full double spread of photos of my parents – we had a lot of fun with these. On this page I added an “H” brad and a metal clock piece to symbolize the passage of time. You will notice that all of the pages have the same titling cards on them – I cut them all on my Cricut Machine, and had my mother hand label them before I completed the album. I did this for two reasons – I don’t like my handwriting (hers is better), and I thought that it would be cool to have her touch on the album.
 The spread to the right is “my” page – showing a picture of me with my parents, and then a single shot of myself. For this spread I added a double border to the photographs – one thick and one thin. I then used my sewing machine to stitch the leaf pattern on the thick border. This ties in nicely with the Victorian theme, and adds interest to the page. Notice that I used double and triple borders on the name tags on this page.
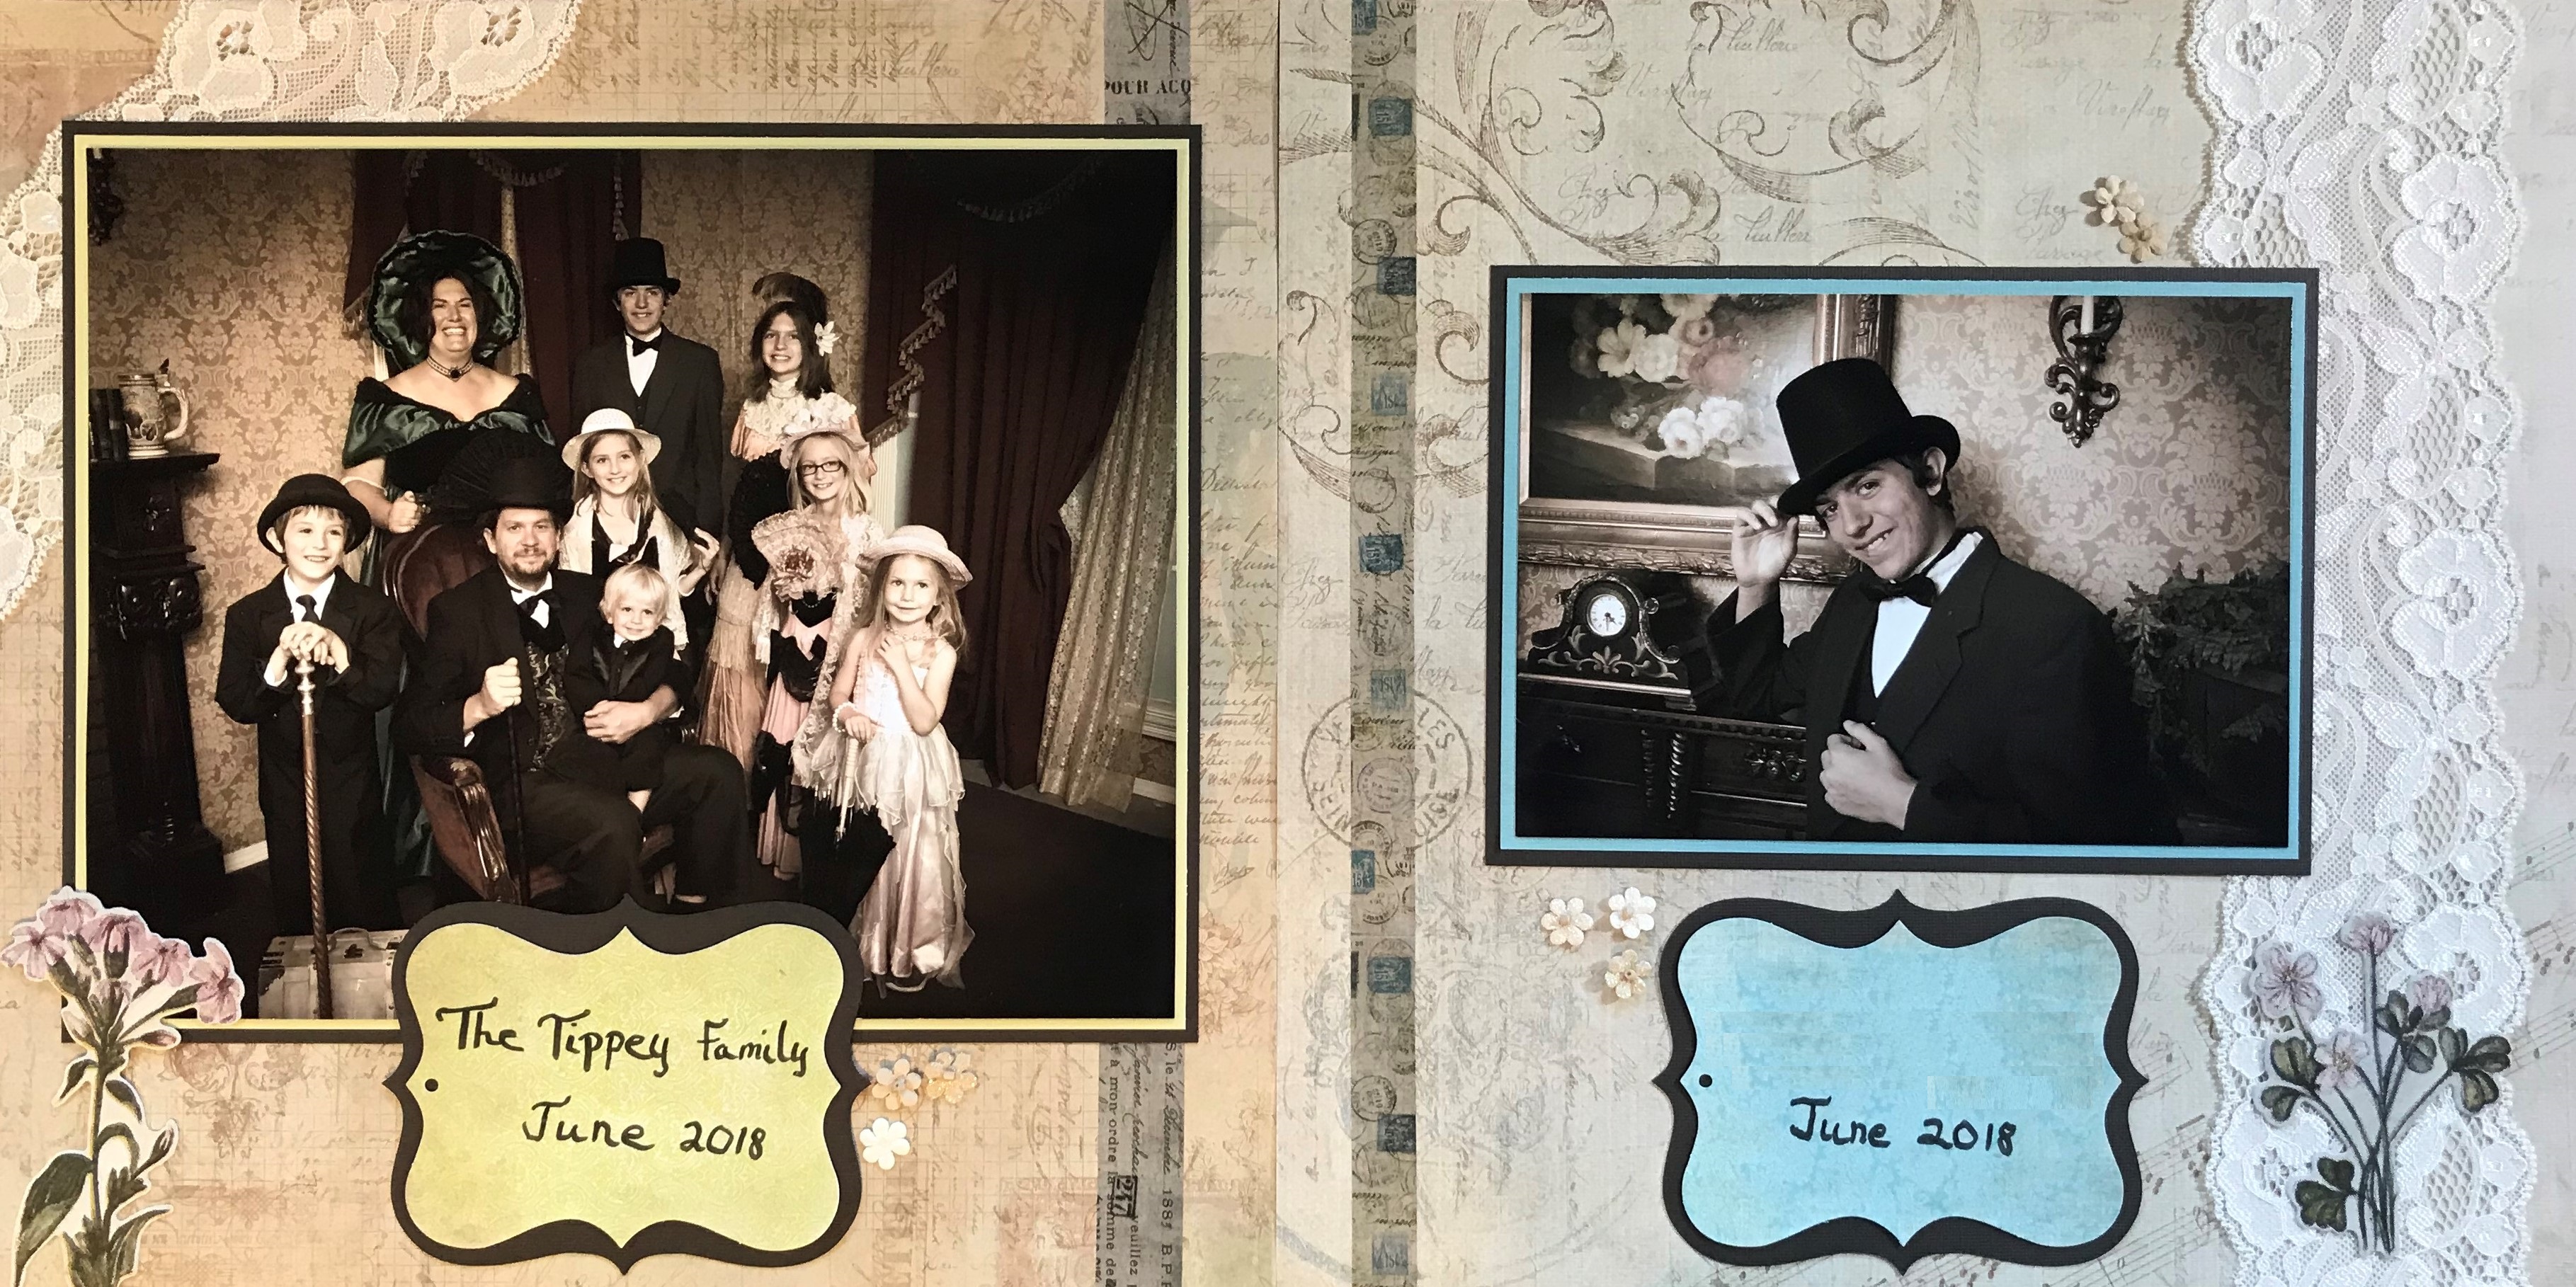 My sister’s family is quite large – they have seven children – and the next few spreads showcases their family and children. I have edited out the names of the children on the photos to keep them private – in case you think that the name tags look a little weird. The spread to the left has their family picture and the single shot of their oldest son. Notice on this page that I used actual lace on the page. It is attached to the back of the background paper with tape to help hold it in place.
 The spread to the right highlights two of my sister’s daughters – I chose a pink and purple theme for this page, and bordered the page with a floral ribbon. I laid down a full strip of sticky tab adhesive and then pressed the ribbon to it firmly to make sure that it would stay in place.
 The spread to the left is of my sister’s twins. The left hand page is of them together and the right side has their individual shots. I also used a floral ribbon on this spread, and included a metal clock face to match the clock that is on the background paper. I also used a glue pen to attach some small paper flowers to the page.
 The spread to the right is of the two youngest boys. They were fascinated by the piano in the studio so their pictures were taken on it to help keep them happy. I will share though that the piano was not in tune so it was a quite painful experience to hear – even though they looked so cute in the pictures! I used musical paper to create the torn edge borders, and the borders for the photos. I also used the metal corners for the two photos on this page. Notice that the torn edge borders are the same paper as the triple borders for the photographs.
 The next spread in the album is of the newspaper article announcing my parents 50th Wedding Anniversary. The newspaper article was in a long column which made it difficult to fit on the page. Fortunately my parents had two copies of it – so I cut one up to make it fit on the page, and the other one was kept intact and folder and put behind this spread in the album so that it can be taken out and looked at completed if they ever wish to do that.
 There are two pictures of this spread. I used a flip pocket on this page so that you can see the newspaper article and the photo from their wedding day, and then if you flip the pocket you can see their most current photo, and a love quote that I used my Cricut machine to make with the marker inserted instead of the blade. The white strip on the pocket is the adhesive strip – I took the photos of this spread before inserting it into the plastic page protector. Once I inserted it into the plastic page protector I stuck the flip pocket to the outside of the plastic page protector and the white strip was gone and the whole thing is transparent. I also used my Cricut machine to write the Anniversary quote onto the left hand page.
 One of the things that I thought was really cool was that their local State Senator sent them a letter and a Senate Recognition document congratulating them on their 50th! I decided to make this a focal point by giving them their own spread. I used a triple torn edge border on the spread to provide interest since the two pieces of paper are very square. I also bordered them in a dark border to help them stand out a little more. I finished this spread off by using my sewing machine to stitch the star pattern (which feels governmental to me) on the borders.
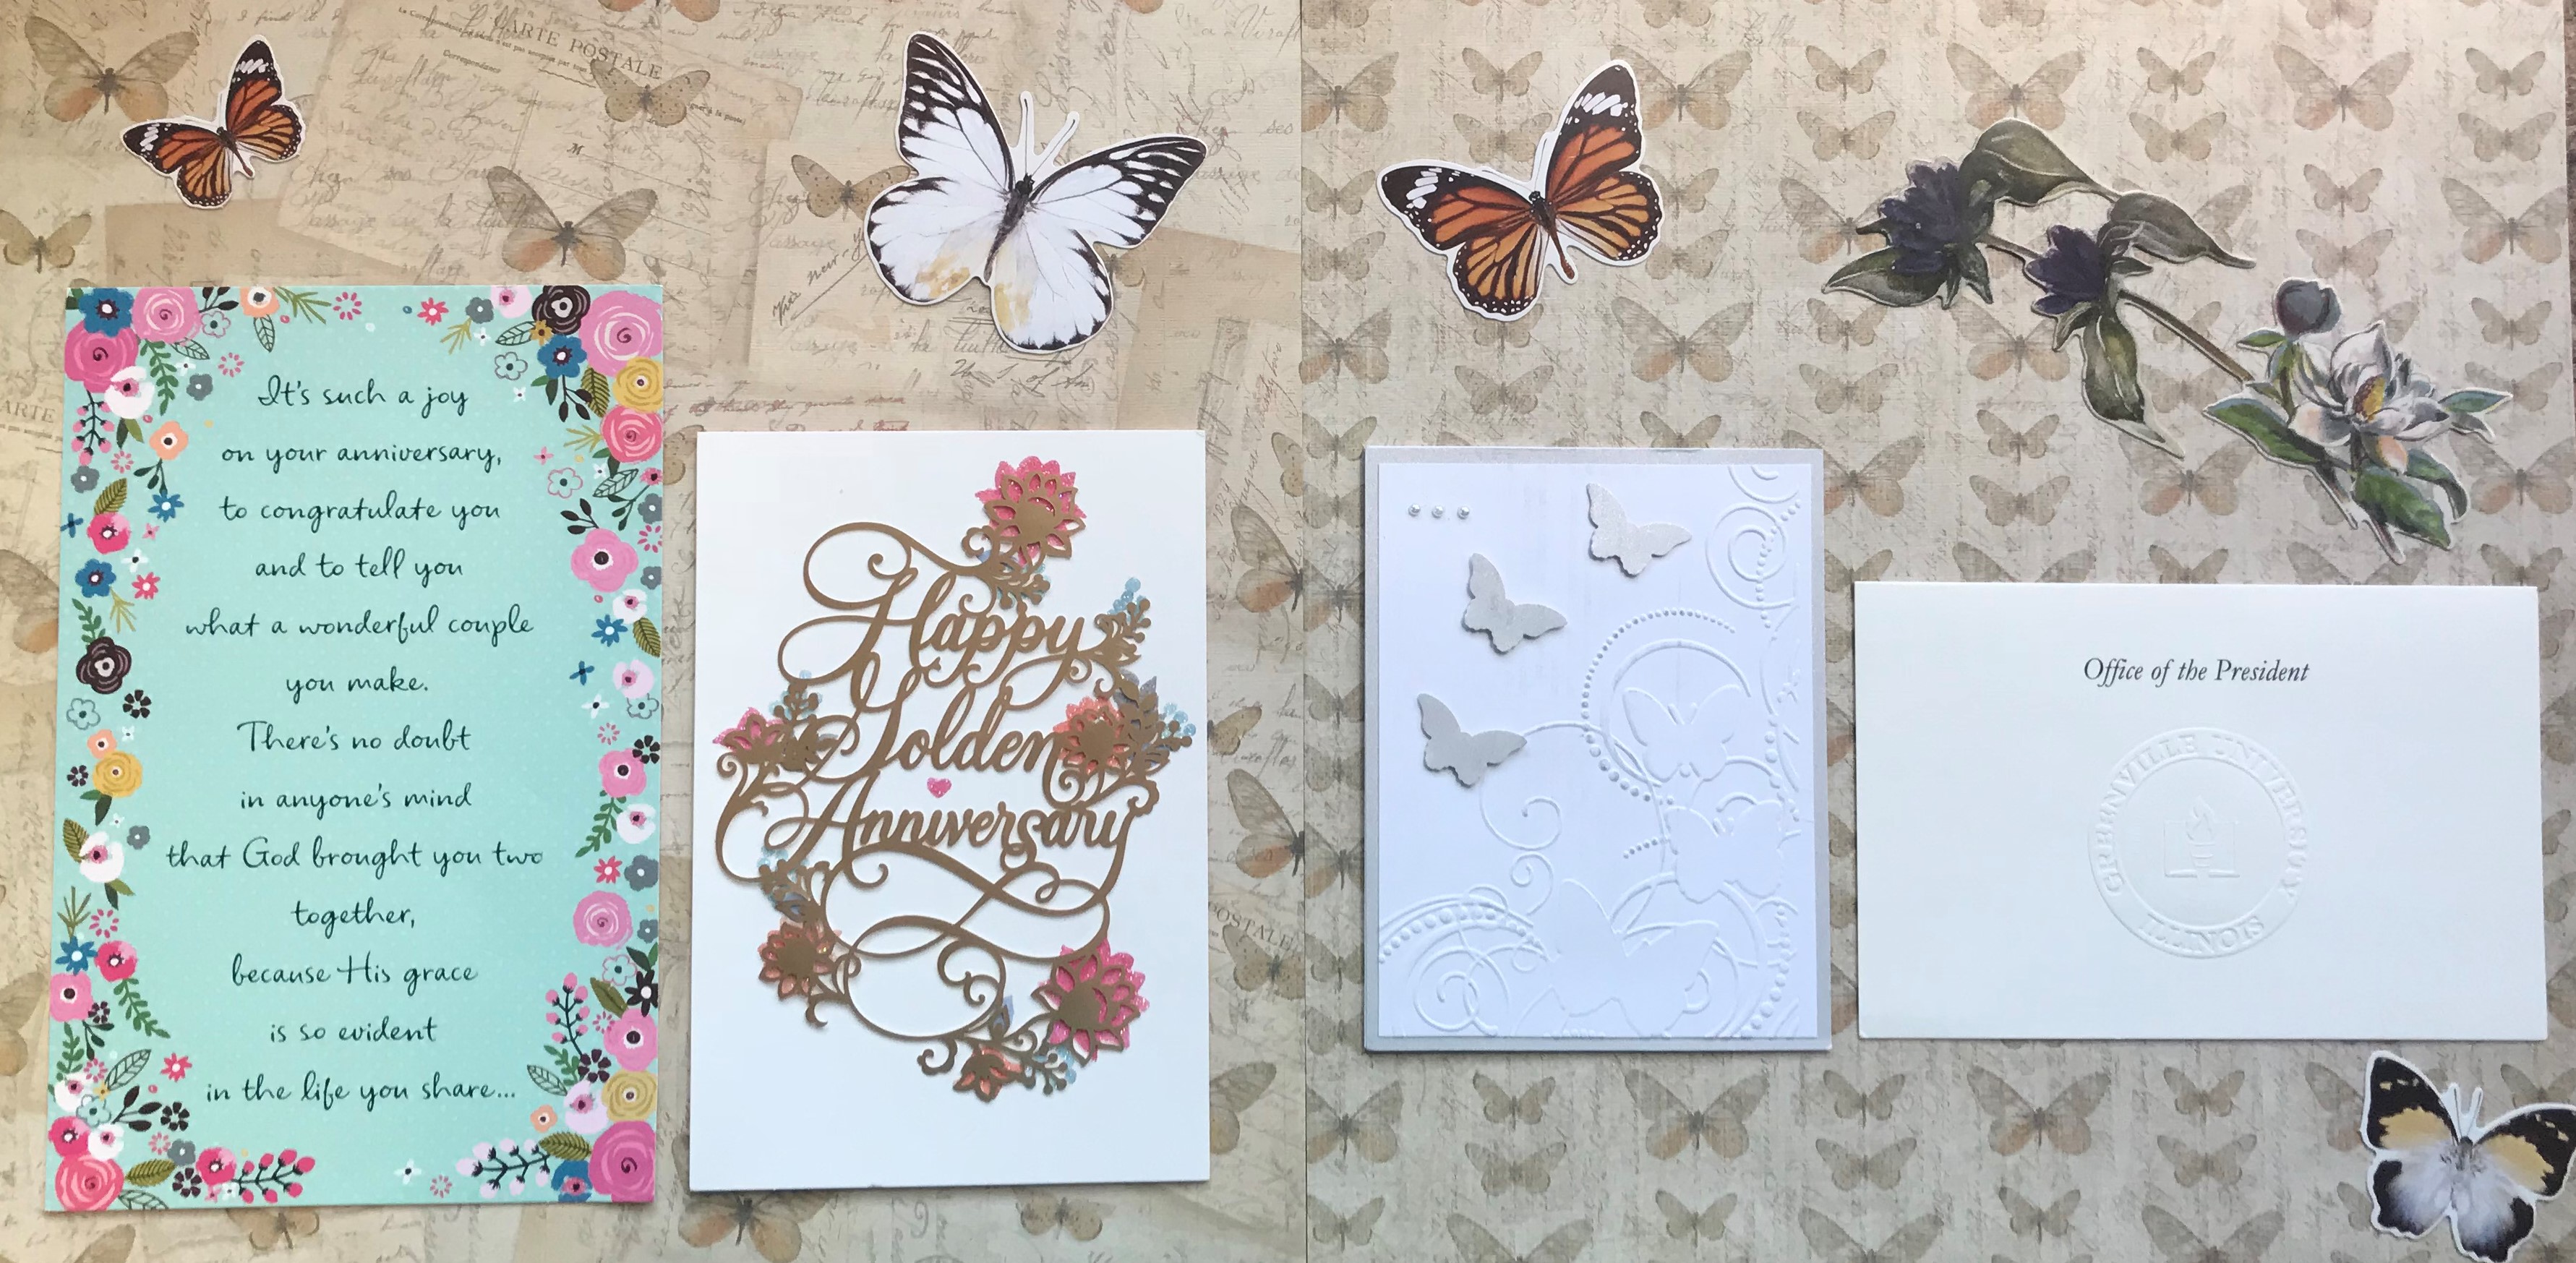
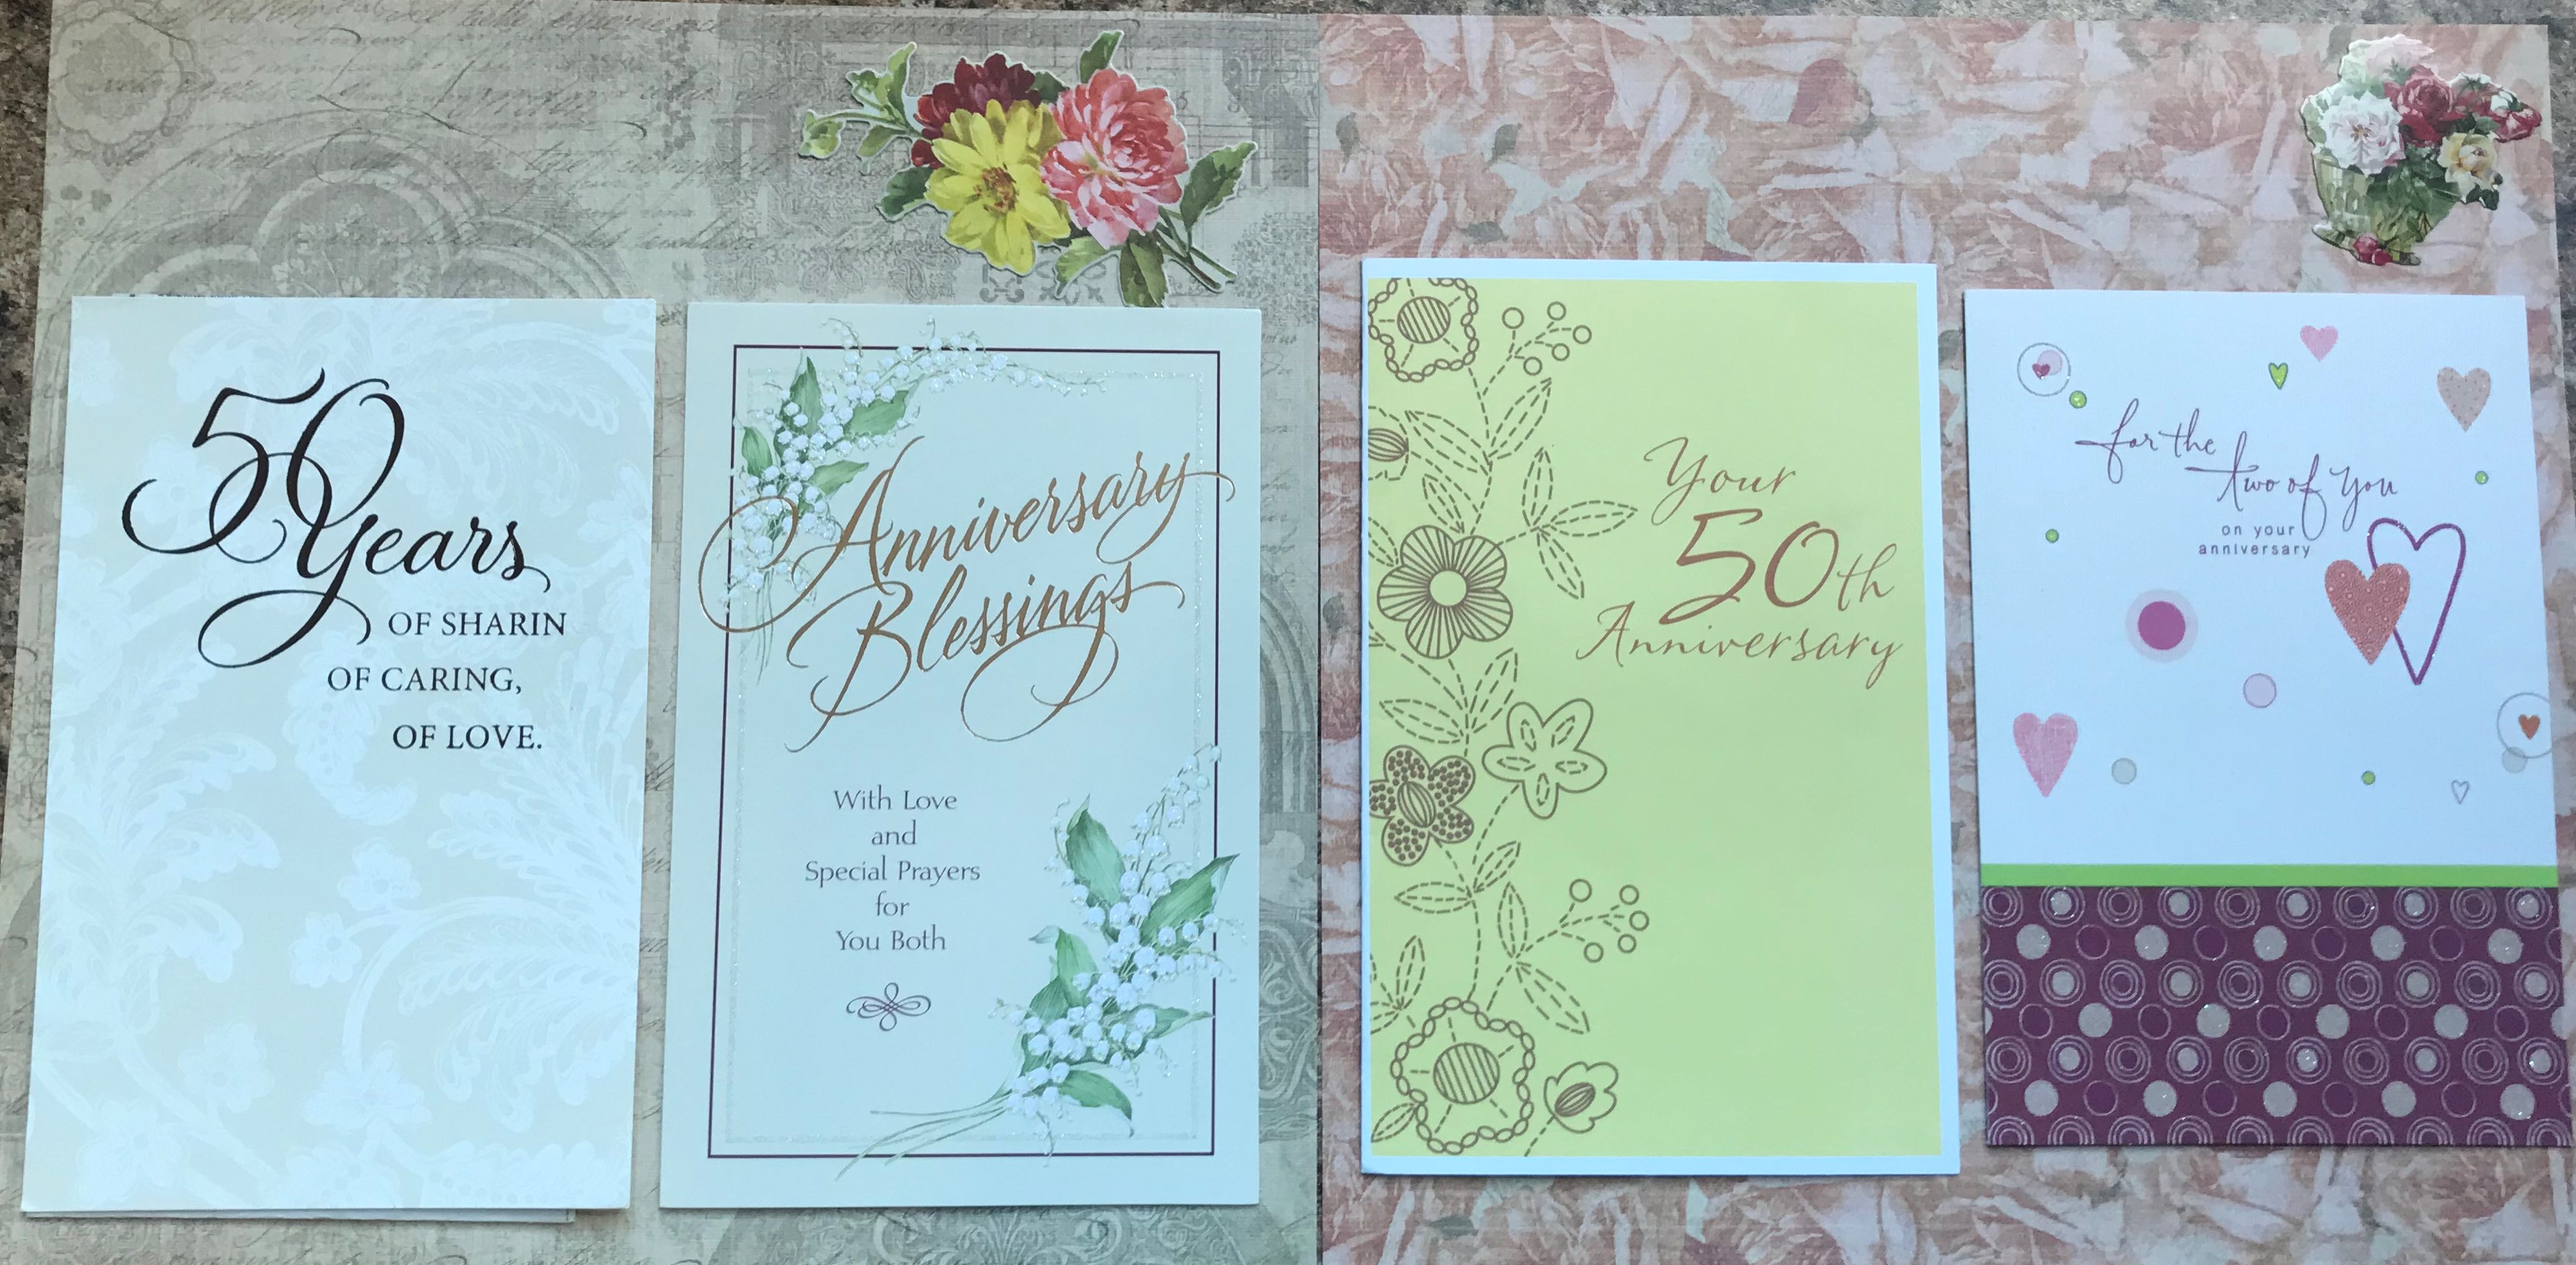
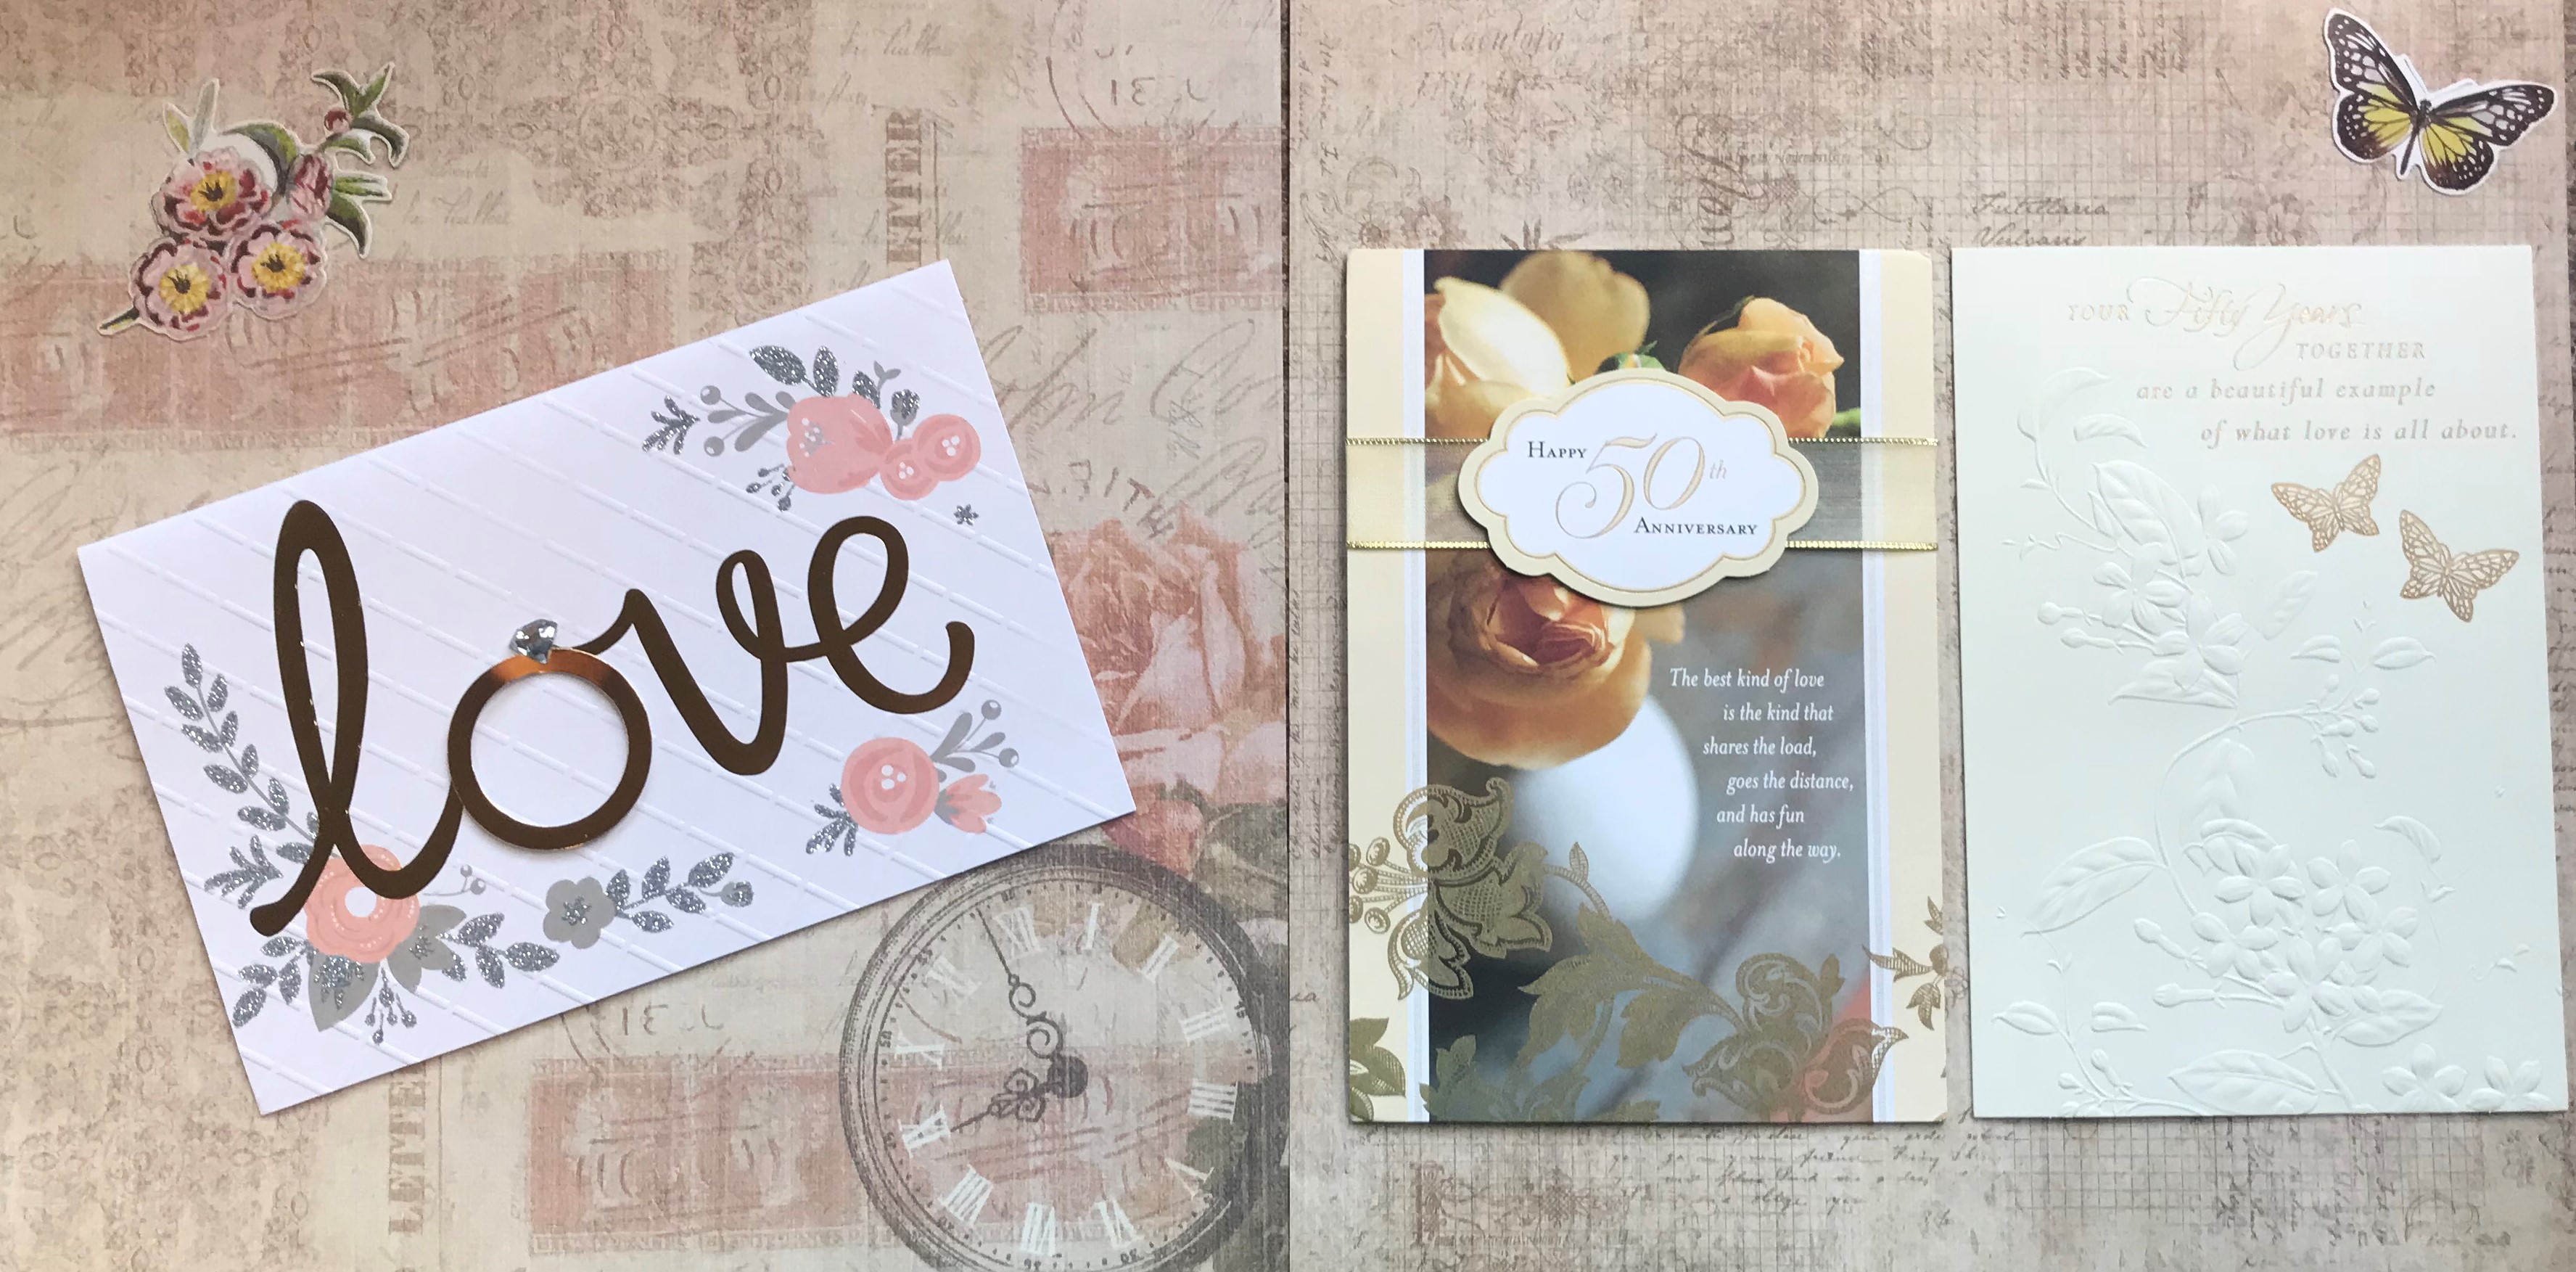
The three photos above are all simple pages I made to keep some of the congratulations cards that they received. All of the cards are affixed to the outside of the plastic page protectors so that they can be opened and viewed. If you want a better view of these pictures – click on them and you can see a larger version.
 One of the things that you may have noticed in this album is the butterflies. This is actually a small hint at the larger 50th Wedding Anniversary trip album that I will start sharing tomorrow. We went to Dollywood as the main part of the trip, and the Dollywood logo is a butterfly, and so butterfliles are present on many pages in that album and this one – to help tie them all together.
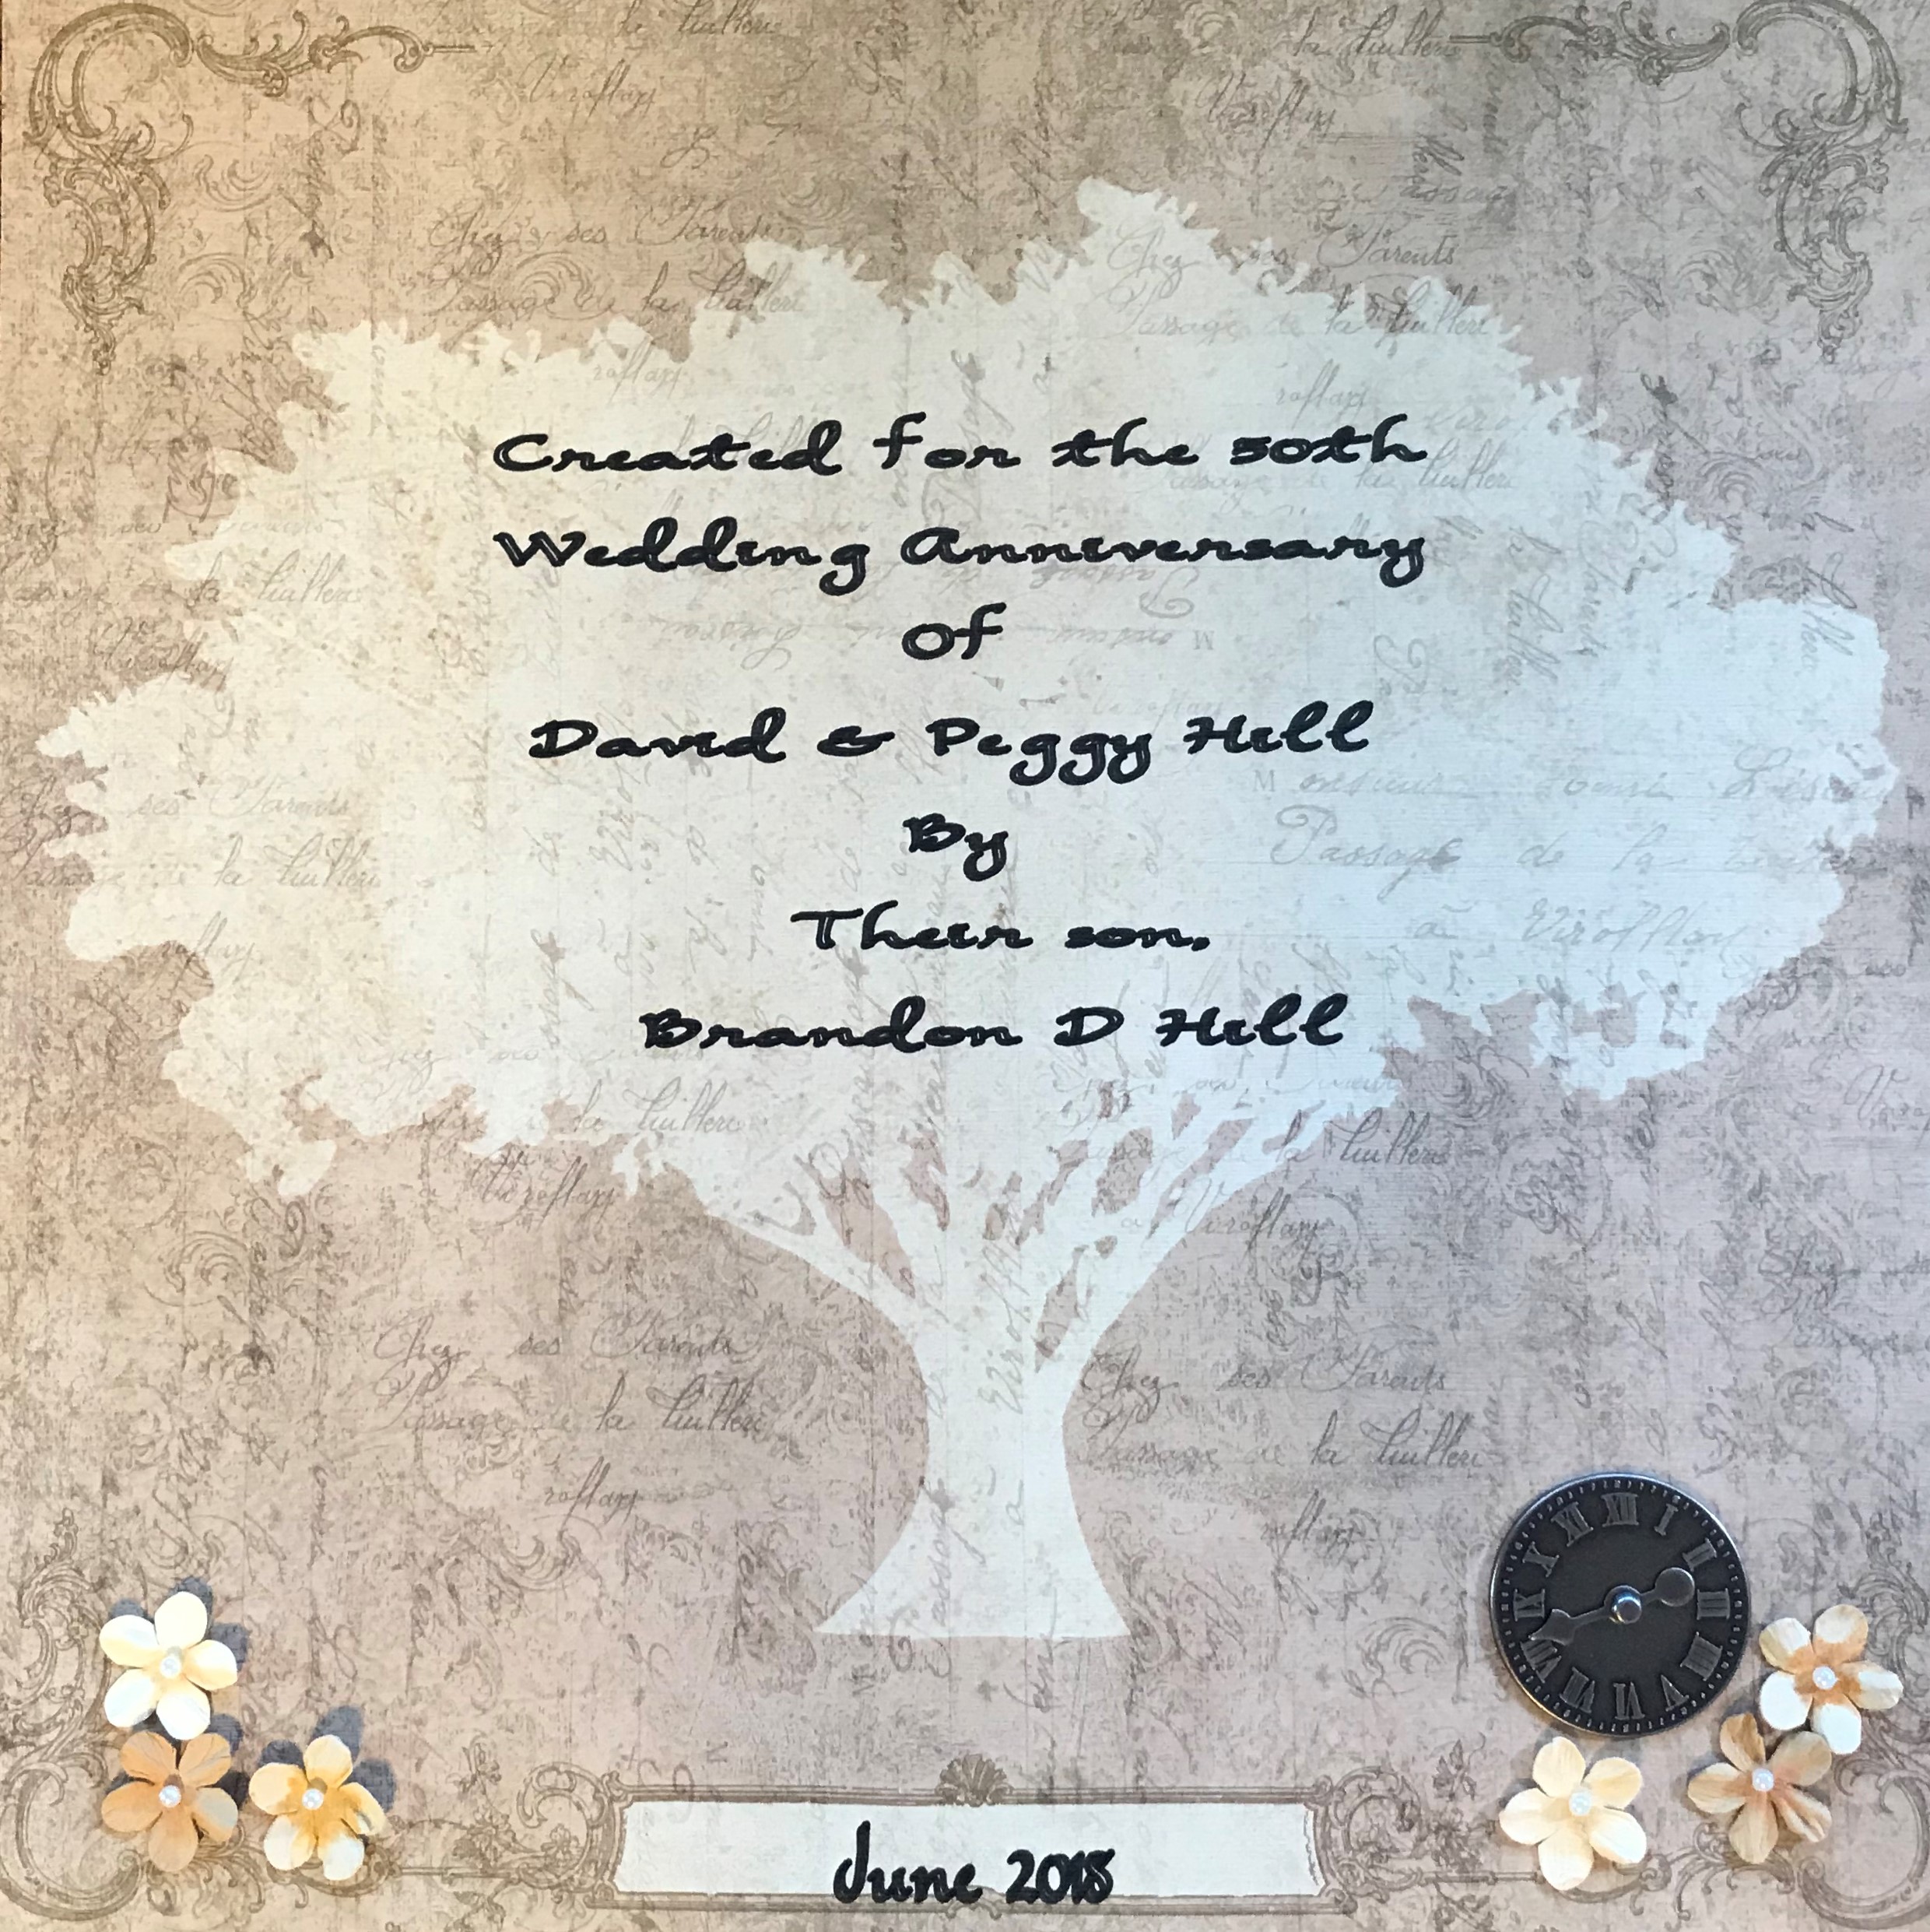
The page to the right is the final page of the album. The paper is from a family tree paper stack and I decided to create this “credits” page to finalize the album. I used my Cricut machine on the marker setting to write this out since I do not like my handwriting. You can use Cricut Design Space to take a picture of the blank page so that you can center the writing exactly where you want it on the page.

Categories: 2018, 50th Anniversary 2018
